
words by: Merissa A. Alink
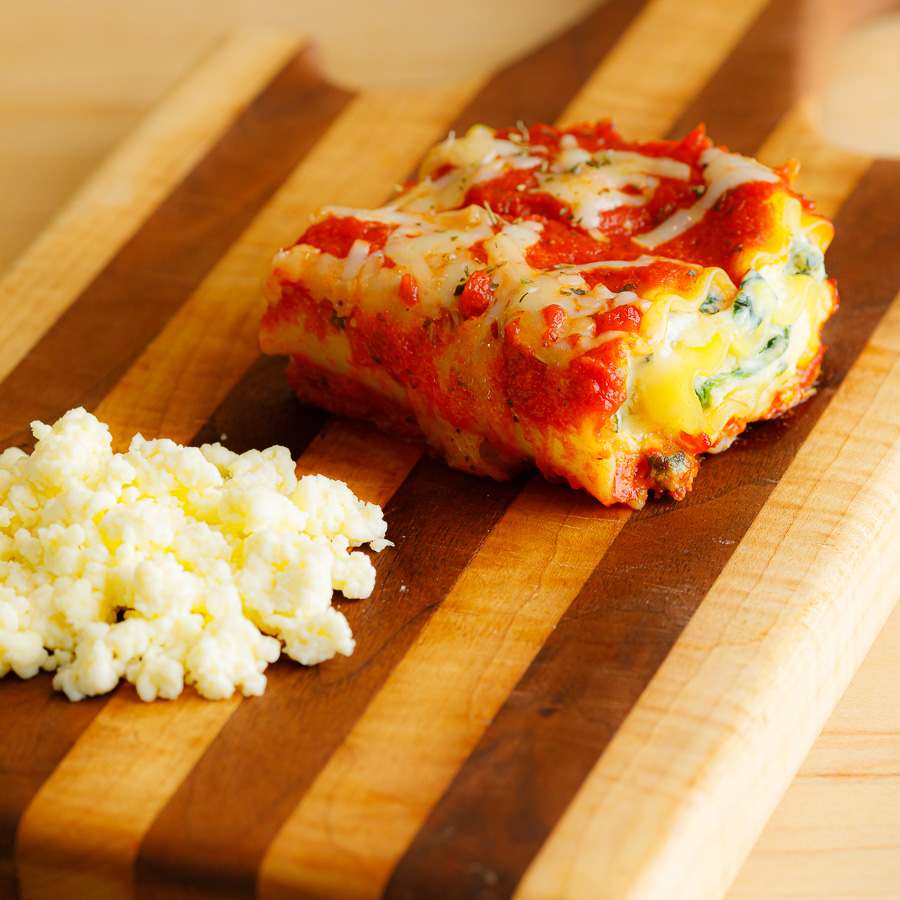
Ricotta Cheese is one of those things you should never need to buy from the store. Why? Because it’s just so easy and so cheap to make at home!
Yes, I realize this recipe isn’t for “traditional” Ricotta Cheese (made from whey), but it’s a perfect homemade ricotta cheese recipe when you need a frugal and quick substitute in a recipe.
Once you learn how to make Ricotta Cheese, you will see that it takes just 5 minutes of prep time and uses ingredients you probably already have on hand, so there’s no need to make a trip to the store and no need to spend more money. Quick, easy, frugal…What’s not to love?
What You Need:
- 2 c. Whole Milk
- 1 T. Vinegar (or lemon juice)
- 1 Pinch of Salt
- Cheesecloth
- Candy Thermometer
Instructions:
Start by prepping your draining bowl. All you need to do is stretch some cheesecloth over the edge of a bowl and secure it with a rubber band.
Place your milk and the pinch of salt in a saucepan on the stove top. Turn the heat to medium-low and place a candy thermometer in the pan. Stir occasionally until the temp reaches 165 degrees.
Once the milk reaches 165 degrees, turn off the heat and add the vinegar. Give it a little stir, just enough to move around the vinegar and let the whole mixture sit for a minute or two. You’ll see the milk begin to curdle, much the same way it does when you add vinegar to milk to make homemade buttermilk.
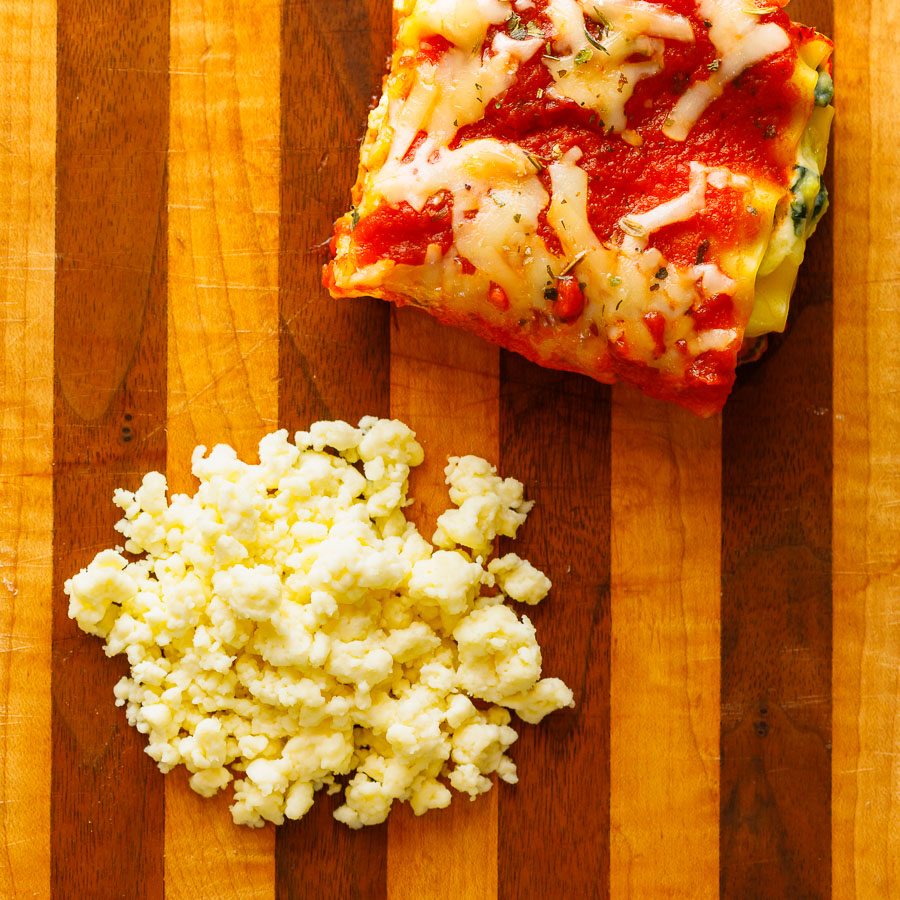
Strain the mixture through the cheesecloth into your bowl slowly and gently. Let the cheese set on the counter for about 20 to 30 minutes to drain. Once the cheese has drained you can place it in the fridge in an airtight container until ready to use or you can use it right away!
This recipe makes about 1/2 cup of homemade ricotta cheese per 2 cups of milk used and will store for a few days in the fridge, but make sure to use it up within a week. Extra ricotta cheese can be frozen for later use.
_________________
Discover more DYI projects like this by visiting www.littlehouseliving.com


Leave a Reply