
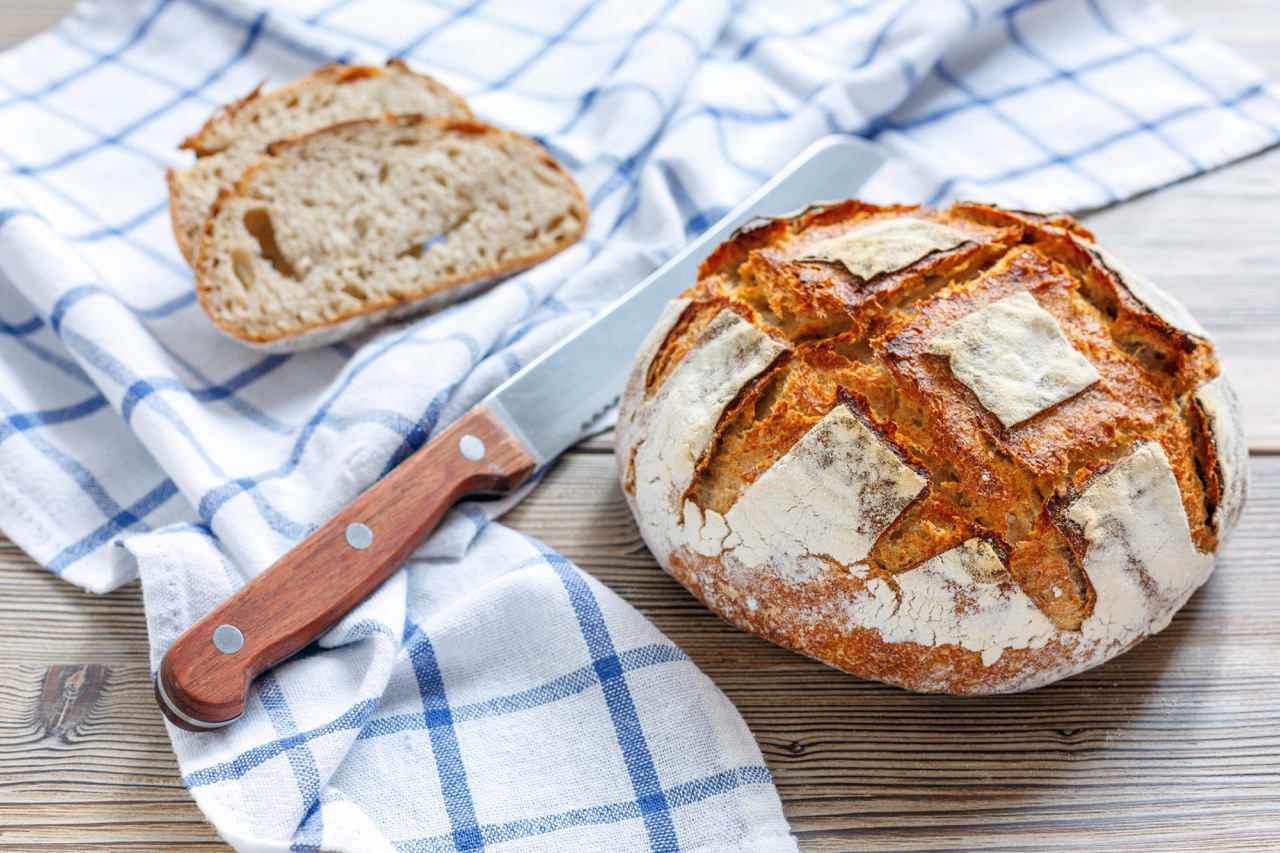
Simple does not equate easy. Many of us, myself included, seek the simple life because we feel there is a deeper purpose to life than “fast food” living. But there is a part of us that romanticizes the simple life.
The warm scent of freshly baked bread filling the house, glass jars of milk with cream on top from the cow, vine-ripened tomatoes in a basket from the garden with fresh basil gracing the countertop next to them in a tidy kitchen, just swept clean with a broom we made ourselves.
If that describes your kitchen, kudos to you. We both know it will need to be swept again shortly, the hornworms are coming for your remaining tomatoes, and there’s a whole lot of dishwashing that needs to happen before the next trek out to the field to milk the cow.
While we may think we want easy, you likely won’t find it as you venture down the path of homesteading, farming, and simple living. Before you toss this magazine down, I have one word for you—sourdough.
A sourdough starter is two basic ingredients, flour and water.
Simple? Yes. Easy? Debatable, especially in the beginning.
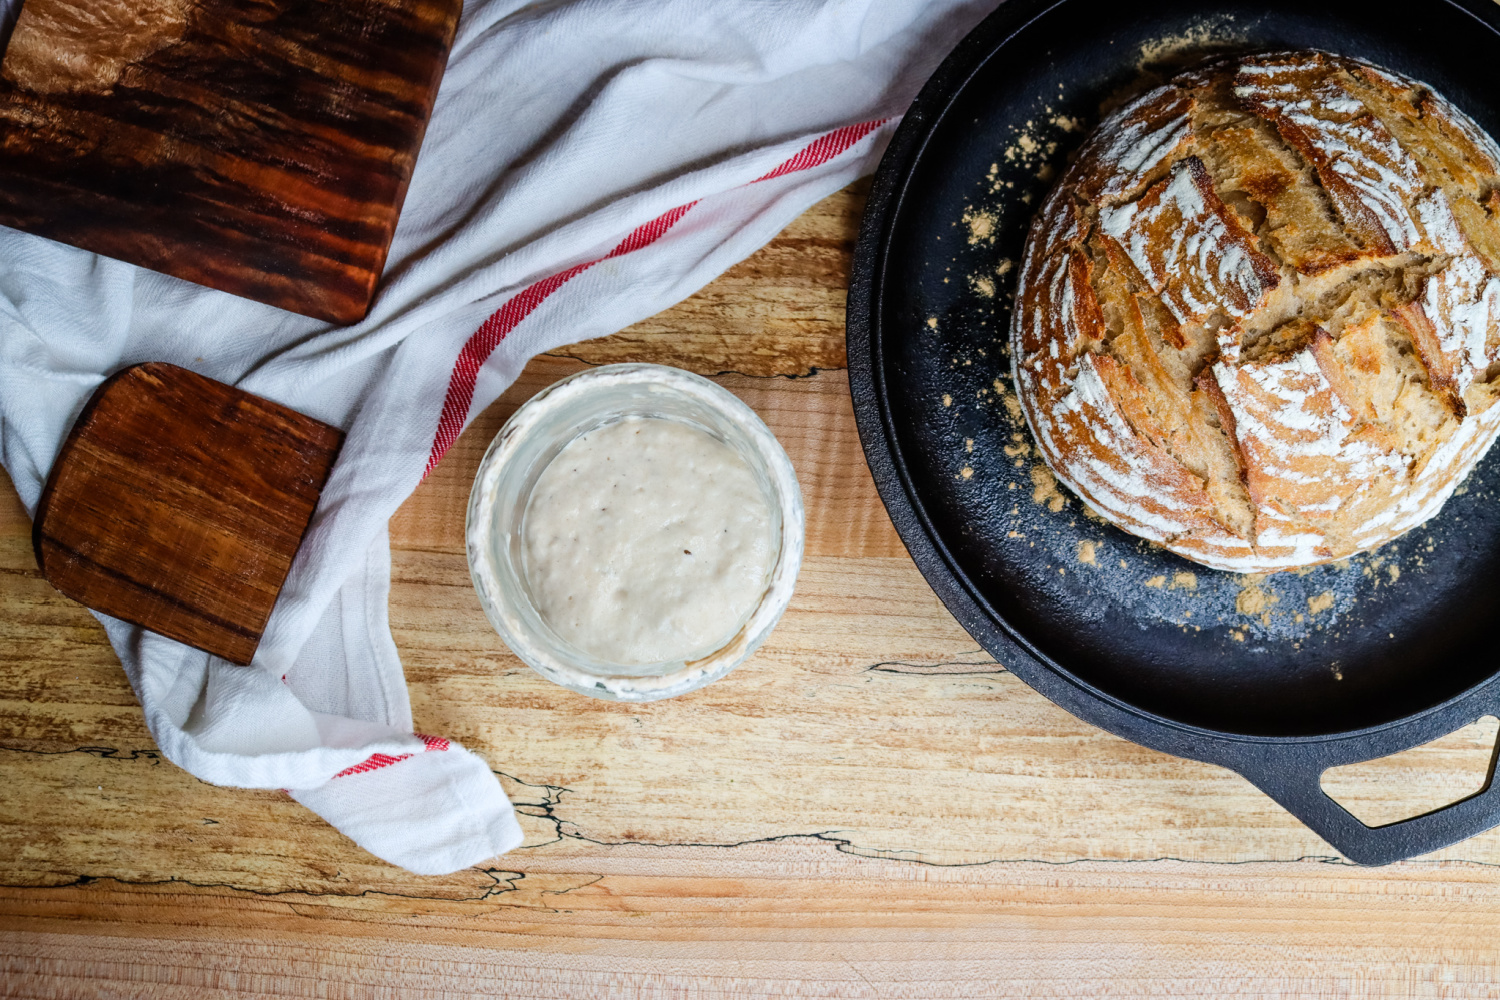
Way back when my husband and I were first married, I wanted to try my hand at sourdough. Growing up, my mom didn’t have a sourdough starter or do anything sourdough, but the rare times we ate at a restaurant or somewhere sourdough was offered, I snagged it. Once married, I noticed that whenever we went out and had the option of choosing sourdough bread or buns or rolls, that’s what my husband and I always went for, so I decided I had to try making it at home.
I found a recipe for a sourdough starter that had flour, water, sugar, and yeast, and you mixed it all up in a bowl. It instructed me to mix all the ingredients, set it aside in a bowl, and leave it for a week.
Well, as you can imagine, it grew lovely shades of different mold and ended up stinking to high heaven. My first attempt at a sourdough starter had totally failed. Do not feel bad if you haven’t had success with your sourdough starter in the past.
I’m sure our ancestors would marvel at how I didn’t know how to create a sourdough starter or bake with it, almost how today’s generation would marvel at someone who didn’t know how to operate a telephone.
I confess I had more failures with sourdough than I care to admit. I threw in the towel and would go years before trying again, but the more I researched gut health and began to understand nutrition, I couldn’t escape the fact that the easiness of instant yeast and store-bought bread filled with additives and preservatives wasn’t the best for our bodies long term.
Easy has a price. My health was the payment, and I was no longer willing to sacrifice it on the altar of convenience.
While my first attempts at creating a sourdough starter had failed, I discovered it failed because I didn’t give the starter what it needed to grow and thrive.
Sourdough is fermented, which means it has colonies of natural, wild yeast and lactobacilli bacteria.
If you’ve heard the terms “wild yeast” or “wild fermentation,” that’s what we’re doing when we make a sourdough starter. We’re creating an environment for that wild yeast already on the flour and growing our starter with the naturally occurring yeast and bacteria in our homes.
Once we understand our sourdough starter is a living thing, it’s easy to see why it doesn’t just taste good, but, like all fermented foods, it’s beneficial to our health too. Plus, the fact that it’s fermented means that it’s got natural preservatives because fermentation is basically nature’s way of preserving food.
And since that yeast and bacteria are essentially consuming the mixture of flour and water, they are pre-digesting them for us. This is good for our gut health, which is why live cultured and fermented foods of all kinds are so good for our digestive system and overall health. It also means that sourdough products are lower on the glycemic index.
When it comes to sourdough, though, the bacteria aren’t alive when we eat it because we’re not eating our sourdough starter raw. Instead, we’re using it for baking. But when we put our flour in it or whatever grain medium we’re using (i.e., brown rice, quinoa, buckwheat, gluten-free flour, etc.), it’s being pre-digested for you.
This means our bodies can get the nutrients out of it that much easier, even though we’re baking it and killing the bacteria. When we’re making our baked goods, we’re not worried about that. It’s already done the work for us.
How to make a sourdough starter
Now that I’ve filled you in on all the basics, here’s how to start your very own sourdough starter.
Ingredients
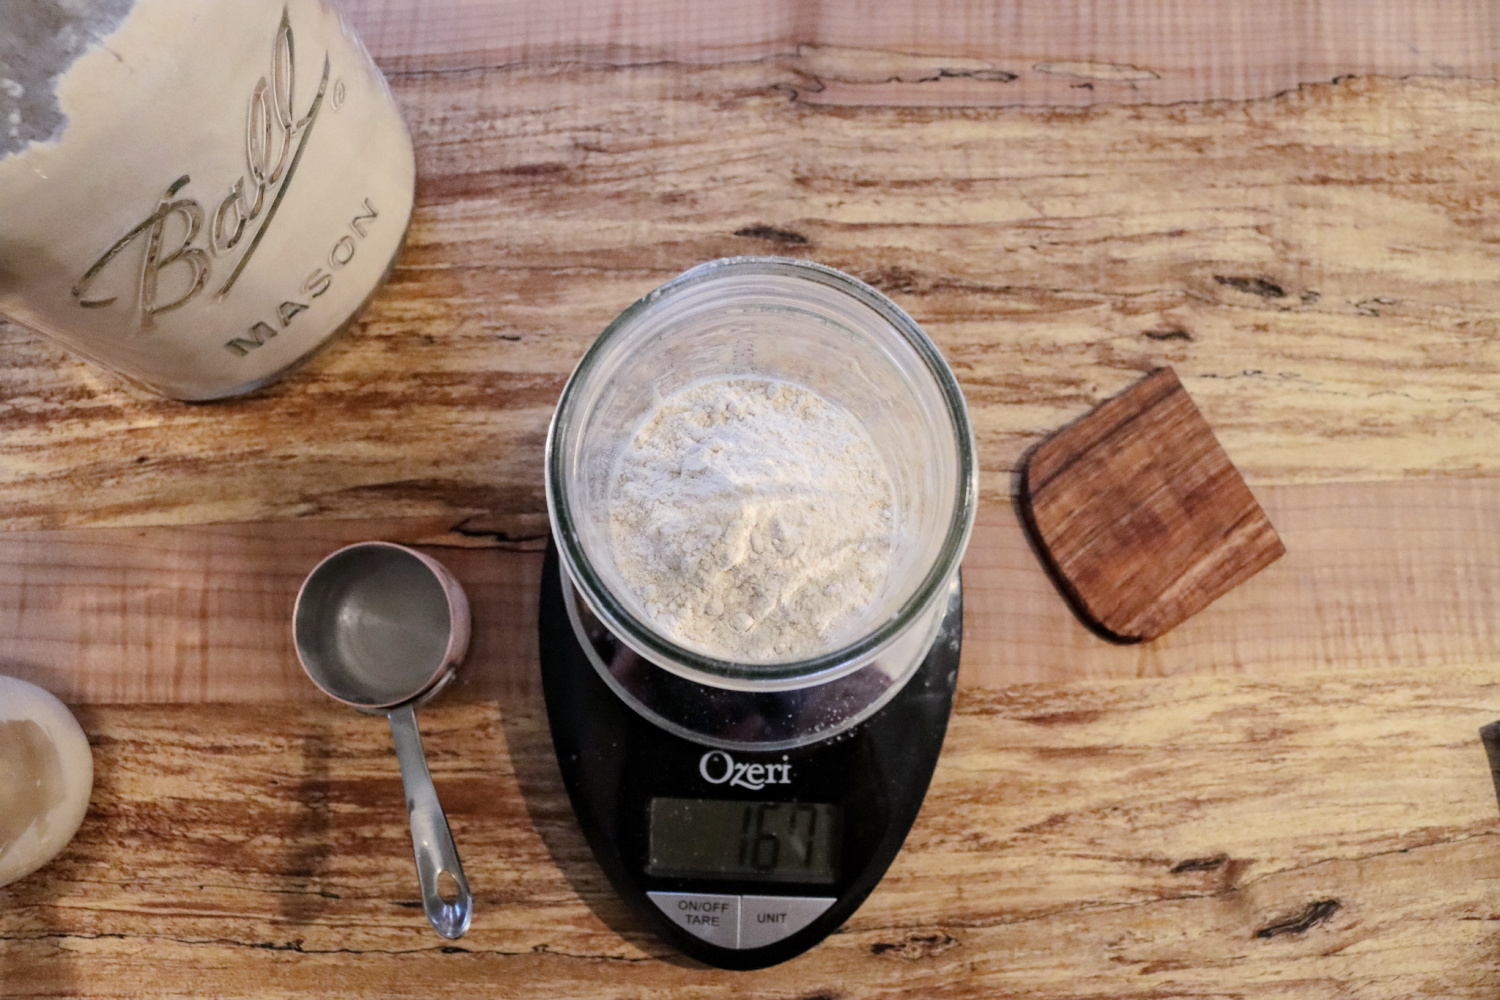
- ¼ cup flour (30 grams)
- 2 Tablespoons warm water (30 grams)
Directions
- Mix together ¼ cup flour and 2 Tablespoons water (or 30 grams of each for 100% hydration).
- It’s ideal to use warm water, around 65 to 70° F. If your house is on the cool side, you can increase the water temperature to 80 to 85° F.
- Every 12 hours (or so), discard half your starter and feed it again.
Feeding your sourdough starter
At each feeding, you’ll use ¼ cup (30 grams) of flour and 2 Tablespoons (30 grams) of water. Your goal is a thick, pancake-like batter consistency.
Try to keep your feedings 12 hours apart, but don’t stress or set a timer. Twice a day is ideal for keeping your new lactobacilli bacteria fed, where they can multiply to establish your colony.
Why You MUST Discard Half Your Starter
Don’t skip the discard; this is important during this stage and means you’ll use less flour throughout the first week. The lactobacilli aren’t established and can’t sustain the full amount of flour and water if you don’t discard them.
If you’d like, you can use the discard in regular recipes that call for flour and water, but it’s not truly a sourdough discard yet (not to mention it’s only a small amount).
I hope you use the discard in recipes, but if you can’t, other options are adding it to your compost pile, feeding it to your livestock, or placing it in the trash. DON’T put it down your sink unless you want to call a plumber.
Where to store sourdough starter
The best temperature for your starter is 70 to 85° Fahrenheit. Our house cools down between 60 to 65° F overnight as the wood stove cools and then is back in the low to mid-70s during the day and evening, and my starter does just fine.
If you see good bubble action, don’t worry if your temperatures dip. If your house is colder, you can place your starter near a heat source (not on it, we don’t want to cook it) or in the oven with the light on and the oven door cracked (just don’t forget it’s in there when you need to preheat your oven!).
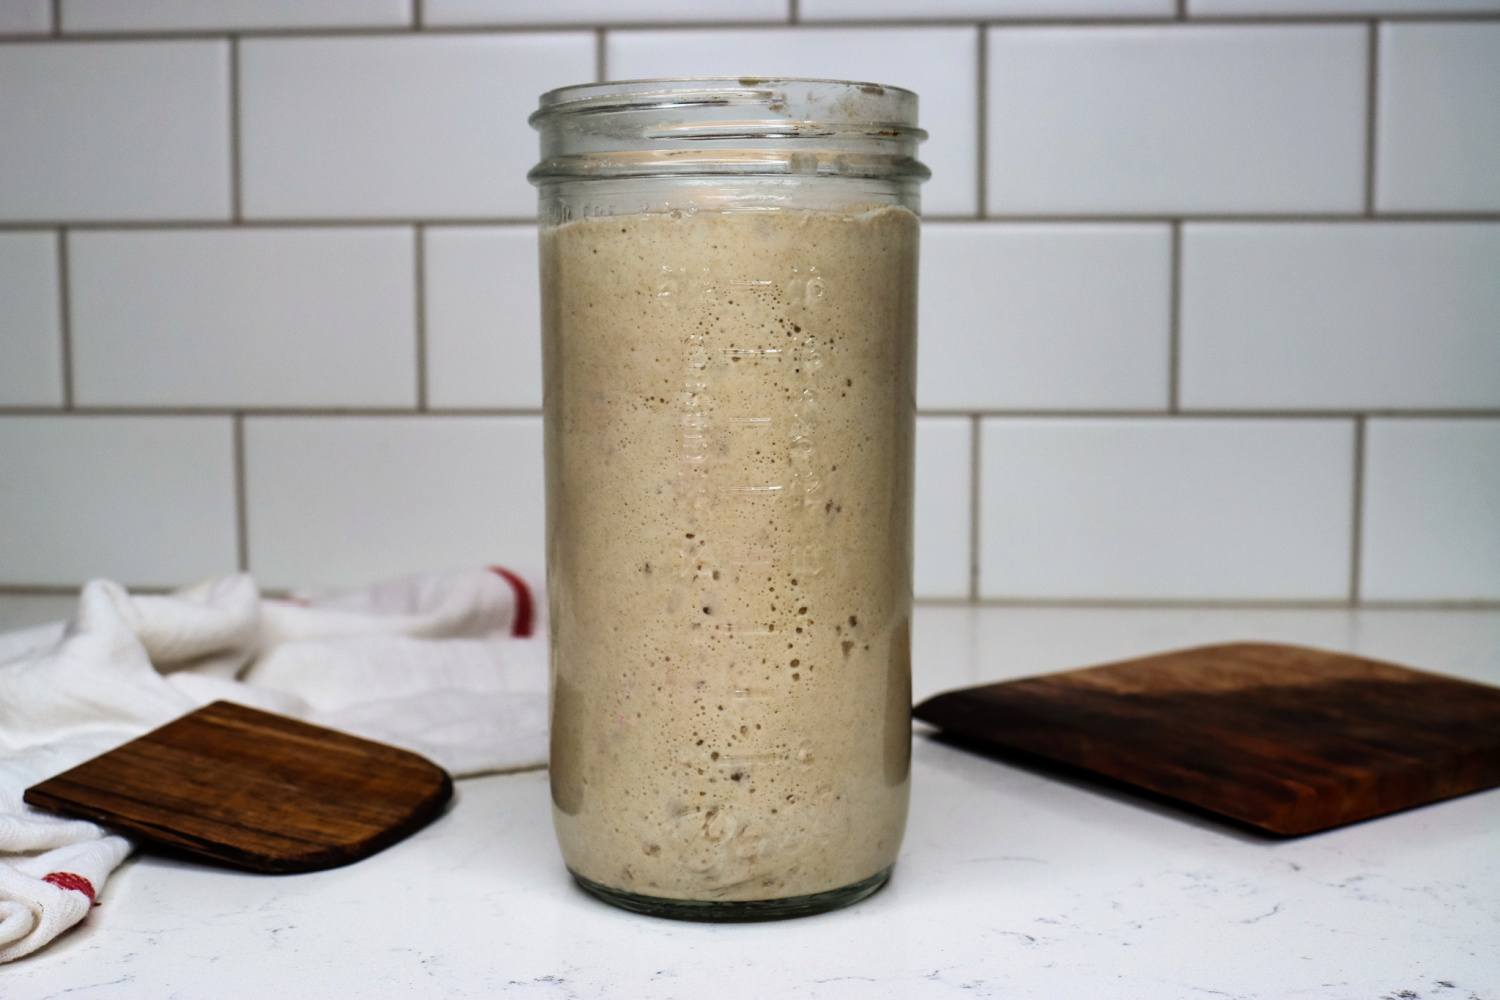
Signs your starter is active:
- Bubbles on the sides of the jar
- Bubbles on the top of the jar
- Domed on top a few hours after feeding
- Starter doubling in size a few hours after feeding
- Liquid on the top as you come due for the next feeding
Example sourdough starter feeding schedule
DAY 1
Am feeding = Add equal flour and water and stir until well combined, scrape down side of jar and bottom.
Pm feeding = Add equal flour and water and stir until well combined, scrape down side of jar and bottom.
You may start to see a bubble or two!
DAY 2
Am feeding = Discard ½ the amount of your starter (this is very important to establish your starter with a healthy colony). Add equal flour and water and stir until well combined, scrape down side of jar and bottom.
Pm feeding = Add equal flour and water and stir until well combined, scrape down side of jar and bottom.
DAY 3
Am feeding = Discard ½ the amount of your starter. Add equal flour and water and stir until well combined, scrape down side of jar and bottom.
Pm feeding = Add equal flour and water and stir until well combined, scrape down side of jar and bottom. You should be seeing quite a bit of bubble action now! Some starters will even double at this point BUT it’s not ready for bread. If your starter is extremely bubbly right now, don’t be alarmed if at day 5 or beyond it suddenly stops being so bubbly, this is normal for a young starter.
DAY 4
Am feeding = Discard ½ the amount of your starter. Add equal flour and water and stir until well combined, scrape down side of jar and bottom.
Pm feeding = Add equal flour and water and stir until well combined, scrape down side of jar and bottom.
DAY 5
Am feeding = Discard ½ the amount of your starter. Add equal flour and water and stir until well combined, scrape down side of jar and bottom.
Pm feeding = Add equal flour and water and stir until well combined, scrape down side of jar and bottom.
Notes: Even if you don’t see signs on day’s 1 and 2, continue with the feeding routine and have patience. Your starter will likely smell yeasty, sour, tangy, and/or even like alcohol in the beginning stages. You now have an active but young starter and can begin using it in non-rising sourdough recipes like pancakes, waffles, muffins, quick breads, crackers, and cakes.
DAY 6 THROUGH 28
At this point, you can continue along with the twice-daily feeding amounts OR use the alternate once-a-day feeding. Alternate once-a-day feeding is ½ cup flour (60 grams) and ¼ cup water (60 grams). This can be used once your starter is bubbly and active. If you feel it’s sluggish, stay at the twice-a-day feedings and amounts.
Once your starter is four weeks old, it will likely show consistent signs of doubling a few hours after feeding and be ready to try in bread recipes.
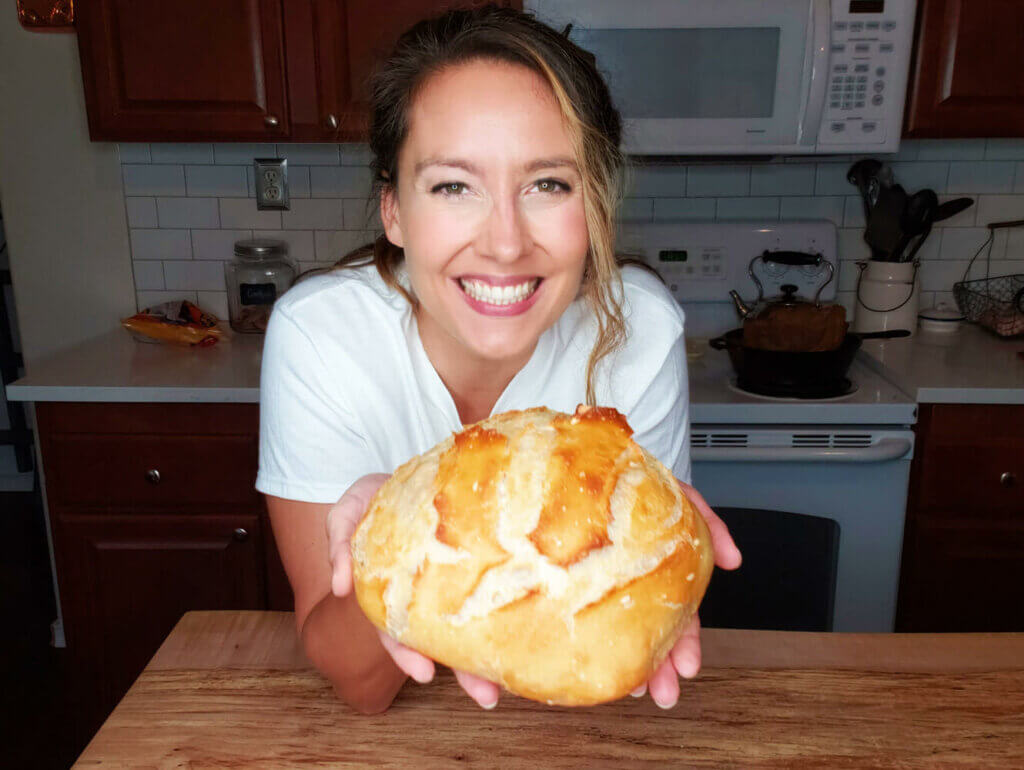
At this point in my sourdough journey, it does feel easy. It’s a natural part of my kitchen’s rhythm, but it took me many years to get to this place. If it had been easy from the get-go, would I have the thrill of satisfaction as strongly as I do now when I pull that perfect loaf out of the oven? Maybe, but I doubt it. The things that we must fight for, the things that feel hard, are the things we appreciate and give us deeper meaning.
With this article, your sourdough starter journey is made a little easier. I hope that it encourages you for whatever hard thing you’re facing right now. //
• • • • •
To sign up for my free sourdough starter class, showing how to use different flour types (including gluten-free) and my favorite sourdough discard starter recipes, go to www.melissaknorris.com/sourdoughclass. Or you’ll find them in my book, Hand Made: the Modern Guide to Made-from-Scratch Living.
Blessings and Mason jars,
~ Melissa
Melissa K. Norris is a 5th generation homesteader who married a city boy… but that city boy quickly became a country boy and turned into a bonafide farmer when they moved to Melissa’s family property. With their two children they believe in keeping the old ways alive. She is an author, blogger, and podcaster. Learn more by visiting: www.melissaknorris.com.







Leave a Reply