words by: Merissa A. Alink
Now that I actually have some herbs growing, I wanted to be able to dry them and preserve them to use later on in the winter. Right now we have chives and sage coming up in various spots around the yard so I want to be able to take advantage of these “freebies“!
Instructions:
I asked my husband to make me a few herb drying racks so that I could take advantage of the “solar power” and dry my herbs for free without electricity.
We used 11/2″ wood for an herb drying rack that wouldn’t be too heavy but also would be strong and last a long time. You will need to cut 4 boards from this. We cut ours 24″ (2 of them) and 21″ (2 of them) to make a square. You may want to make yours smaller or larger or a different shape depending on where you want to put it.
Lay out your boards into a square (or whatever shape you’ve chosen) before you start drilling any holes.
Be sure and pre-drill the holes to avoid splitting the wood when you put the screws in.
Put one screw in each board end to hold the boards together. We used 3″ screws to hold it together well and make it stronger.
Then take your screen and measure it out. You want it to come at least 4″ over each side of your square. If you have screens from an old window you might be able to use that but you will want it to be a plastic screen, not metal.
Use a staple gun to staple the screen to the wood.
Make sure the screen is tight as you staple it to the frame. However, don’t pull so hard that the staples are straining on the screen.
Flip the drying rack over and wrap the screen around the edges of the wooden boards and staple on the other side.
Cut the excess screen off the top of the herb drying rack. Now your drying rack is done and ready to be used!
How to Use Your Herb Drying Rack:
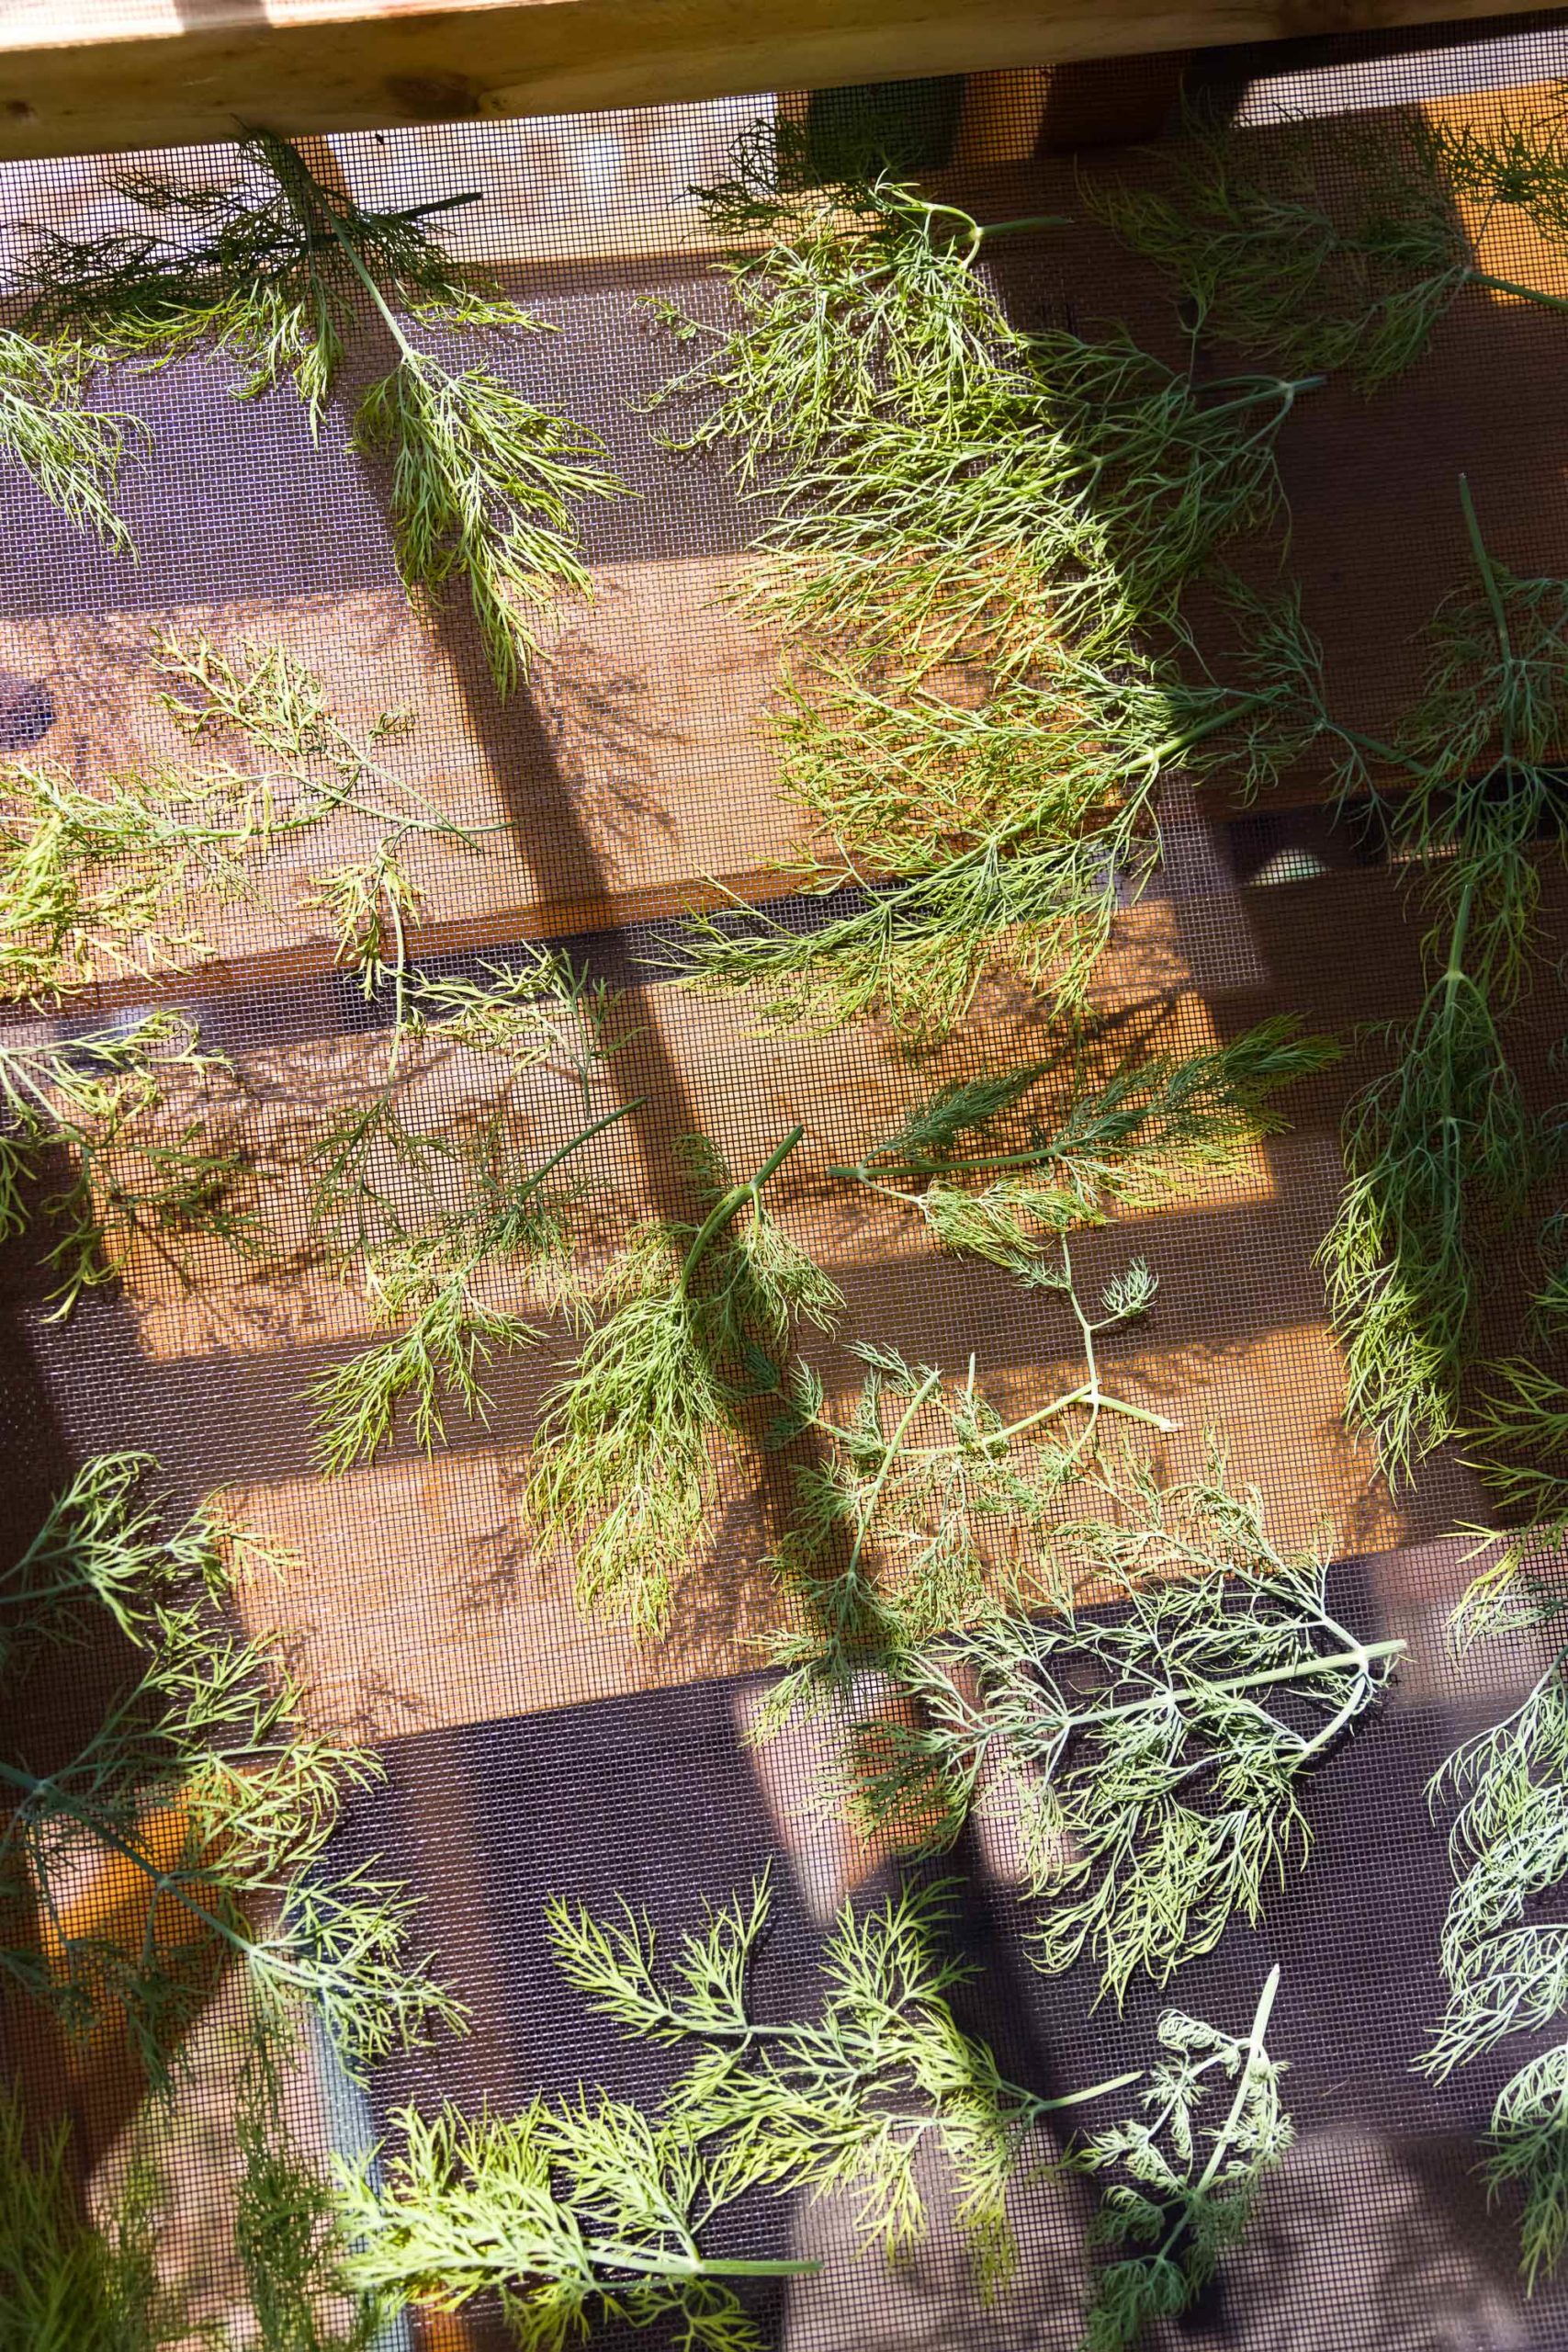
Wash and trim your herbs and place them on the drying rack. Try and set the rack up off a flat surface.
Let them dry in the sun until they are completely dried out. Then you can store them in a mason jar with an airtight lid. That’s all there is to it!


Leave a Reply